

To begin with, we need to have a perfectly flat plane on
both the arms and on the torso in order to get a seamless bond between them and
attach them together without them looking “attached”. After a trip out to my shop and a few moments
on the disk sander, here is where I was at.

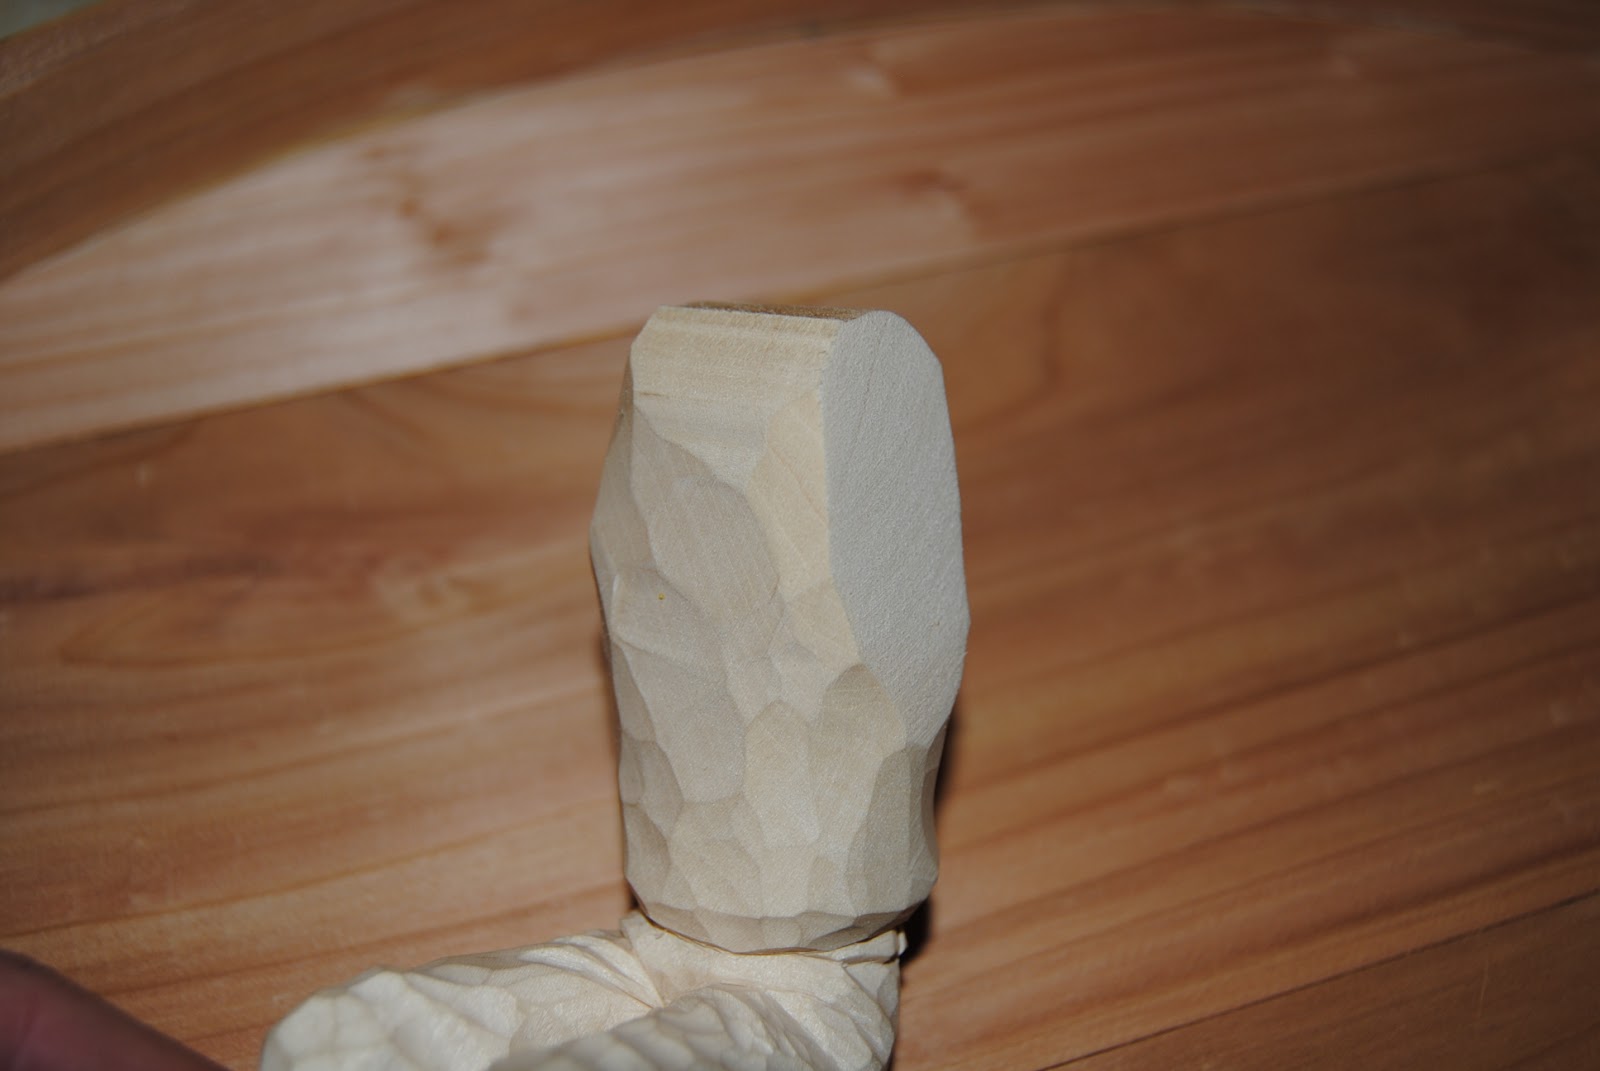

You can see from the photos that the areas that will be
glued together are indeed flat and ready to be attached. This is the little gizmo that I invented for
lining up attachments in the right location.
I have blogged about it before, so feel free to browse through the
previous posts for a complete explanation.


With my pins pushed into the arms where the dowels will
eventually go, it’s time to fit them to the torso in just the right
location. Here’s a photo with the arms
placed in the right spot.


The above photograph shows the arms and torso with the pins
removed. Notice the holes left behind by
my positioning pins. That’s exactly
where I need to drill my dowel holes.
The following are a few photos after 1/8” dowels have been fitted into
the holes.


Now, I will fill the holes in with some quality wood glue, I
use Tightbond II, reinsert the dowels, and spread a thin layer over the joining surfaces. Once glued, I will wrap some rubber bands
around the arms and body to clamp them in place until the glue sets up. In the next post, we will finish detailing the arms and maybe get the head done. I hope you are enjoying following along with me.
No comments:
Post a Comment