There are many more photographs on the Carvings Gallery Page if you care to stop in and have a better look. I would love to know what you think, so please leave a comment or send me an email. Thanks for dropping by.
Greetings, salutations, and welcome to The Old Stump Blog. My goal with this blog is to share my ideas, insights, and personal carving adventures with you. I hope that your visits here will be interesting, enlightening and maybe a little entertaining. Now get those tools sharp and let make some chips.
Thursday, June 28, 2012
The King Gets His Colors
Well, here he is in all of his majesty. The regal old monarch is full of attitude, but his eyes reflect the kindness with which he uses to rule his subjects. I think I captured exactly what I was going for in this piece. The crown was probably the funnest part to make. It's made out of a piece of copper flashing cut out and soldered together. The studded jewels are the heads off of some round brads that were soldered into place as well. I set it on his head in a dapper, slightly-ascue fashion that I think gives this piece some real character.
Saturday, June 23, 2012
My Weeks Work
I spent some time out in my shop this week and here's a picture of the fruits of my labors:
Starting at the top and going clockwise, the woods are black walnut, ash, cocobolo, Hawaiian toon, spalted maple, mahogany, flame figured box elder, and Osage orange. The blades are and assortment of detail, all-purpose, and rough-out styles. All eight of them turned out beautifully and all are available for purchase on the Knife Gallery Page if you see something that sparks your interest.
Friday, June 15, 2012
A King is Born
I finished up the carving portion of the torso for the King last night. I still need to give the fur around the neck some texture with my Dremel to top it off. I'll try to get that accomplished over this busy weekend. I also need to give the king a crown and some bling to make him look royal.
I'd love to know what you think so far, so pleas leave a comment or drop me an email. Thanks for looking.
Monday, June 4, 2012
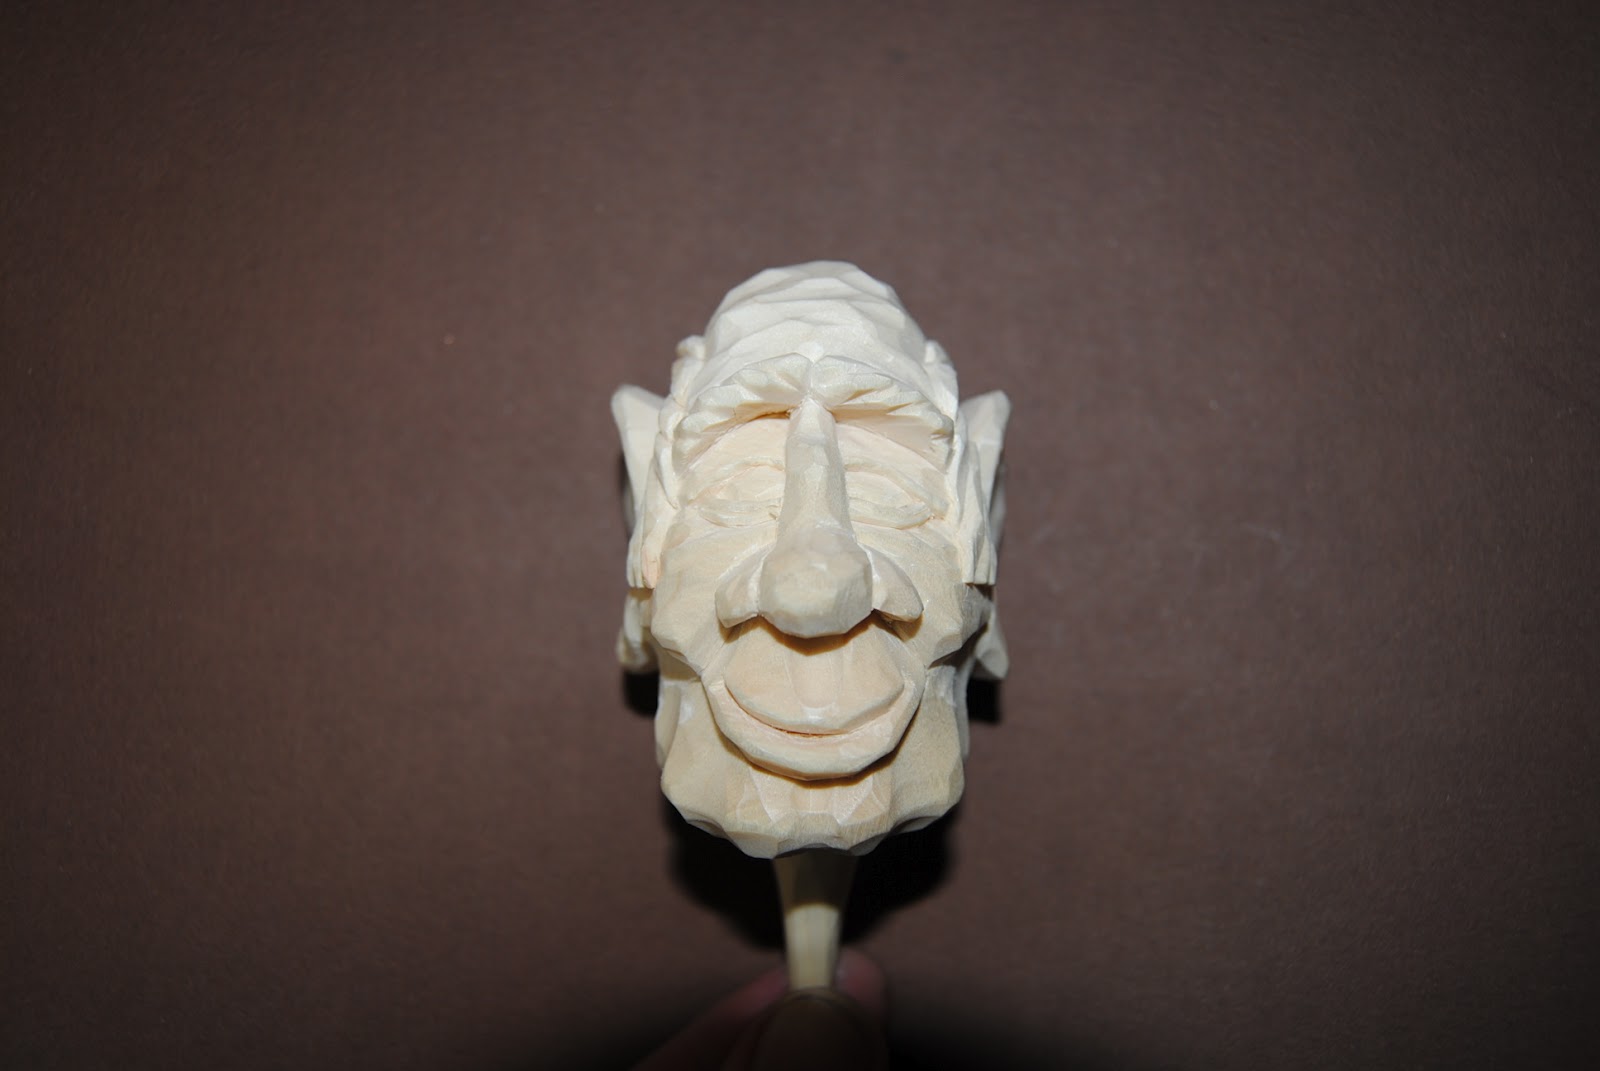
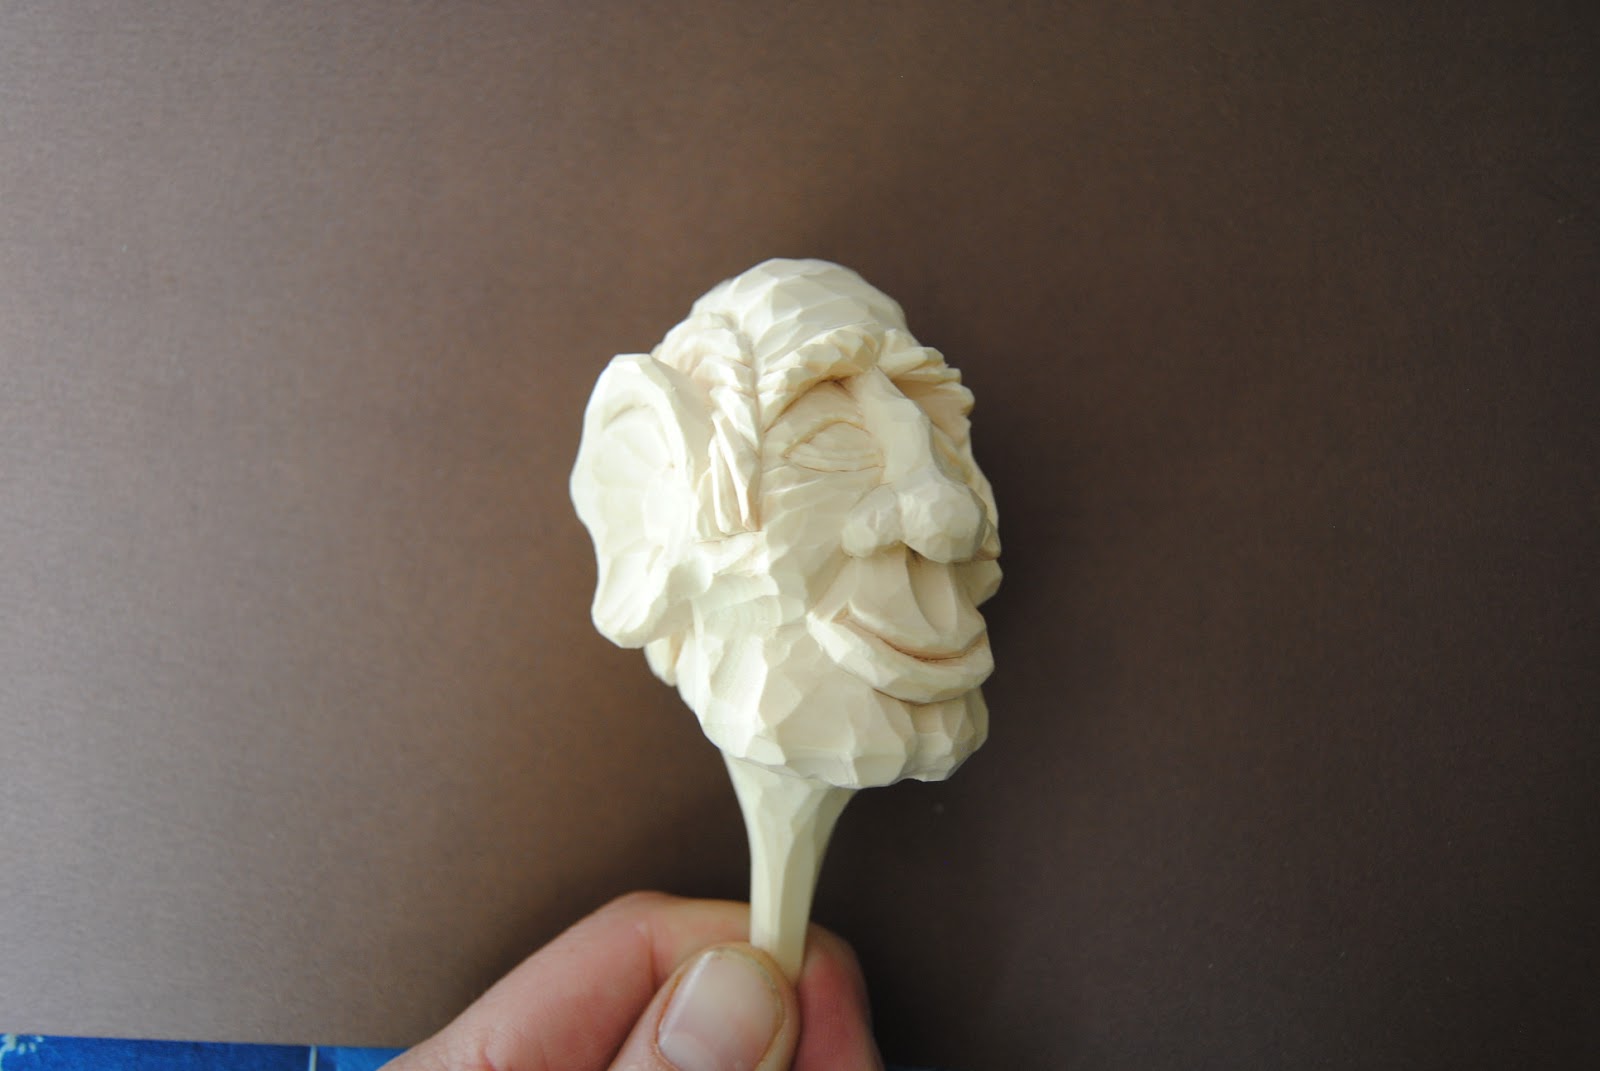
The King's Head
As most of you know, I have an ongoing theme of Medieval
Busts that I have been carving for the last two years or so. When I was remodeling the Carvings Gallery
Page last week, I realized that I had omitted the most important figure from
the court. The King! Well, I just had to do something about
that. I went out in my shop and found
that the piece of Quaking Aspen (Populus Temuloides) that I have had drying
since last year was ready to go. This is
a fantastic wood for those of us out here in the mountains of the far
west. It carves very much like basswood
and I can get a whole pickup truck load for about the same price as I can have
a two-foot-square box of Minnesota basswood shipped to me. I carved “The Sheriff” out of aspen and he
turned out great, so I thought I would give it a try for my King.
Here is what I have done so far.
I really wanted to give him a strong, majestic jaw line and
I believe I achieved my goal. This
smiling old monarch should look great standing next to his frowning, uptight
queen. It still needs a little sanding
and some woodburning to highlight the deepest recesses and provide a boarder for when he
gets painted. I hope to get started on
the torso portion of the bust tonight, and I
promise to make regular posts of the progress I’m making, so check back soon.
Thursday, May 31, 2012
I'm Back!!!
Wow! Has it really
been that long since I've posted? I
can’t believe you all are still hanging around here, but, I’m glad that you
are. I offer a +huge thank you to all of The
Old Stump supporters out there.
Now that the baby is starting to sleep a little better at
night and the remodel work on my girls’ bedroom is finished, I’m ready to get
back to some serious carving and knife making.
As you may have noticed, I have made a few improvements to The Old Stump
Blog. If you look up at the top of this
page at the page list, you will see the addition of two new pages and the deletion
of two others.
First of all, the Carving Bench page was removed from the
Blog. I hardly ever posted any pictures
there since I usually posted them here on the Home page. I also removed the Picture Gallery page. Now, don’t worry about not being able to view
my finished carvings. All I really did
was improve the page with bigger pictures, added descriptions of each piece, provided
better links to more photographs of my carvings, and changed the name to Carving
Gallery. I hope you will stop by and
have a new look. I wouldn’t mind if you
purchased a carving or two either as I’m quickly running out of shelf space to
display them and would much rather send them off to a new home where they can
be appreciated.
The second page that I added was a Custom Orders page. My hope is that this page will be “the” place
to go for ordering a custom carving knife to your own specifications. It shows examples of the different blades and
handles available and gives an in-depth description of each. There is also a cost breakdown available
showing the prices for the different styles of knives. All knives fall between the $30.00 and $40.00
mark and will be made to your own specifications.
Now, it’s time to get out the toolbox, strop a few knives
and start making some chips. Once again,
thank you to everyone for your patience and the support that you give me and
The Old Stump Blog.
Saturday, April 14, 2012
A New Knight
I know, I know! It's about time that I get around to posting something. I've been so busy with our new baby, remodeling our house, and a half dozen other things that I haven't had time to sleep, let alone post anything. In fact, I have the baby in my arms right now and trying to type with only one hand. Kind of slow going!
Thanks for sticking with me and not running off to someone else's blog. I'm also down to only one knife available for purchase in the Knife Gallery. MAN I'M BEHIND!!! I promise to spend some time next week and get a few more made. I just got in a shipment of some really beautiful wood, so the handles from the next batch should be something spectacular.
I hope to get more time to do some serious carving soon. In the mean time, here's a little project that I've started working on.
I thought that I would have some fun and carve another knight. The face turned out really nice. He has kind of cocky grin, like a knight would have while looking down on the peasants. I've just started roughing out the body, so not much to see there. I thought that I would make him kind of short and skinny and give him a really big shield and maybe a spear or polearm, something tall to accentuate his small stature. I'll trick him out with some other addons so he looks snappy. He should be a handsome fellow if he works out like I hope.
Thanks again for sticking with me. Here are a few more pics of the head.
Thanks for sticking with me and not running off to someone else's blog. I'm also down to only one knife available for purchase in the Knife Gallery. MAN I'M BEHIND!!! I promise to spend some time next week and get a few more made. I just got in a shipment of some really beautiful wood, so the handles from the next batch should be something spectacular.
I hope to get more time to do some serious carving soon. In the mean time, here's a little project that I've started working on.
I thought that I would have some fun and carve another knight. The face turned out really nice. He has kind of cocky grin, like a knight would have while looking down on the peasants. I've just started roughing out the body, so not much to see there. I thought that I would make him kind of short and skinny and give him a really big shield and maybe a spear or polearm, something tall to accentuate his small stature. I'll trick him out with some other addons so he looks snappy. He should be a handsome fellow if he works out like I hope.
Thanks again for sticking with me. Here are a few more pics of the head.
Tuesday, March 13, 2012
Cooling His Heels Completed!!!
The long journey finally came to an end this weekend, and I finished my scene. I know that I've said this before, but it turned out better than I had hoped.
I think I achieved that relaxed look on my cowboy's face that I was hoping for, and you can almost see the steam coming off of his heels as he soaks them in the stream. The two vacationing amphibians really adds charm and the overall design. The frog floating in the inner tube is my favorite part of the whole scene. I really wanted to get a cowboy hat into the piece, but it just didn't fit in without covering up more important details. So, I gave up the idea and really don't feel the lack.
As promised, let me describe my struggles with developing the water. My original goal was to make the water clear so that the bottom of the stream could be seen as well as the moss hanging off of the bottom of the log that the cowboy is sitting on. I explored several options from epoxy to railroad modeling stuff. I finally decided to try a product from Woodland Scenics called E-Z Water. It's a plastic material that comes in small pellets. I heated up a batch on the stove and pored it into the channel. Right away, I could see that it was going to be a cloudy amber color. Oh well, it was too late to change my mind. So, I forged forward, building up the water in several layers. Once I reached the depth that I was looking for, I used an old paint brush to texture the surface.
Once I was satisfied, I let the thing dry for a few hours and assessed the situation. The top surface was really not to my liking. It was too rough and really didn't have the look that I wanted. There were a few places where the top layer was pealing off, so I took a piece of dowel cut off at a bevel and scraped at the surface of the E-Z Water. It chipped off very easily, and what I found underneath was a nice, flowing texture. Eureka! That's what I was looking for.
Now that my idea of a clear stream was shattered, I was forced to resort to painting the water's surface. I painted the entire surface with a True Blue color for an undercoat. I followed up with a second layer of Turquoise on the higher points, leaving the lower sections the darker blue. I finished up by dry brushing the tops of the waves with white to accent the white caps that my frog is enjoying. All in all, I'm quite pleased with the results. Even with the paint, the water is still somewhat translucent and provides a nice effect.
I'm not sure that I would recommend the E-Z Water yet. I'll probably try another project with it before I make up my mind.
I learned many lessons along this journey. Some for the good, some things to improve on. That's exactly what carving is all about. One should learn from each piece carved and apply the new knowledge to the next. I hope you have enjoyed this series and learned something for yourself along the way. Thanks for tagging along.
There are a lot more photos in the Picture Gallery, and the piece is available for purchase. If you are interested, just drop me an email.
I think I achieved that relaxed look on my cowboy's face that I was hoping for, and you can almost see the steam coming off of his heels as he soaks them in the stream. The two vacationing amphibians really adds charm and the overall design. The frog floating in the inner tube is my favorite part of the whole scene. I really wanted to get a cowboy hat into the piece, but it just didn't fit in without covering up more important details. So, I gave up the idea and really don't feel the lack.
As promised, let me describe my struggles with developing the water. My original goal was to make the water clear so that the bottom of the stream could be seen as well as the moss hanging off of the bottom of the log that the cowboy is sitting on. I explored several options from epoxy to railroad modeling stuff. I finally decided to try a product from Woodland Scenics called E-Z Water. It's a plastic material that comes in small pellets. I heated up a batch on the stove and pored it into the channel. Right away, I could see that it was going to be a cloudy amber color. Oh well, it was too late to change my mind. So, I forged forward, building up the water in several layers. Once I reached the depth that I was looking for, I used an old paint brush to texture the surface.
Once I was satisfied, I let the thing dry for a few hours and assessed the situation. The top surface was really not to my liking. It was too rough and really didn't have the look that I wanted. There were a few places where the top layer was pealing off, so I took a piece of dowel cut off at a bevel and scraped at the surface of the E-Z Water. It chipped off very easily, and what I found underneath was a nice, flowing texture. Eureka! That's what I was looking for.
Now that my idea of a clear stream was shattered, I was forced to resort to painting the water's surface. I painted the entire surface with a True Blue color for an undercoat. I followed up with a second layer of Turquoise on the higher points, leaving the lower sections the darker blue. I finished up by dry brushing the tops of the waves with white to accent the white caps that my frog is enjoying. All in all, I'm quite pleased with the results. Even with the paint, the water is still somewhat translucent and provides a nice effect.
I'm not sure that I would recommend the E-Z Water yet. I'll probably try another project with it before I make up my mind.
I learned many lessons along this journey. Some for the good, some things to improve on. That's exactly what carving is all about. One should learn from each piece carved and apply the new knowledge to the next. I hope you have enjoyed this series and learned something for yourself along the way. Thanks for tagging along.
There are a lot more photos in the Picture Gallery, and the piece is available for purchase. If you are interested, just drop me an email.
Subscribe to:
Posts (Atom)